PCB的导入及前期处理
本文概述:
使用Altium Designer将原理图导入PCB
本文以89C51原理图为例

本文使用的工具
Altium Designer 20.1.8
1. 对原理图的封装进行添加
两种添加分装的方式(以7805为例)
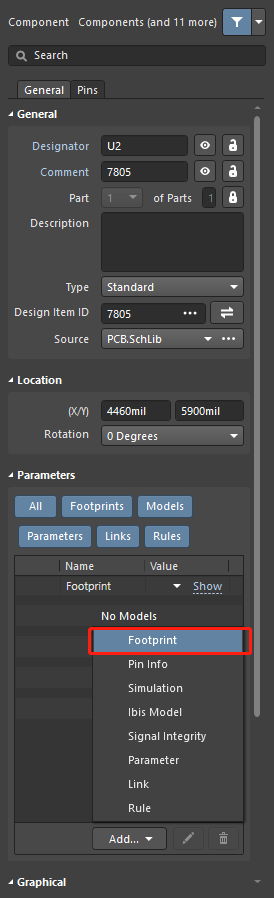
1. 双击器件,在Parameters窗口点击Add
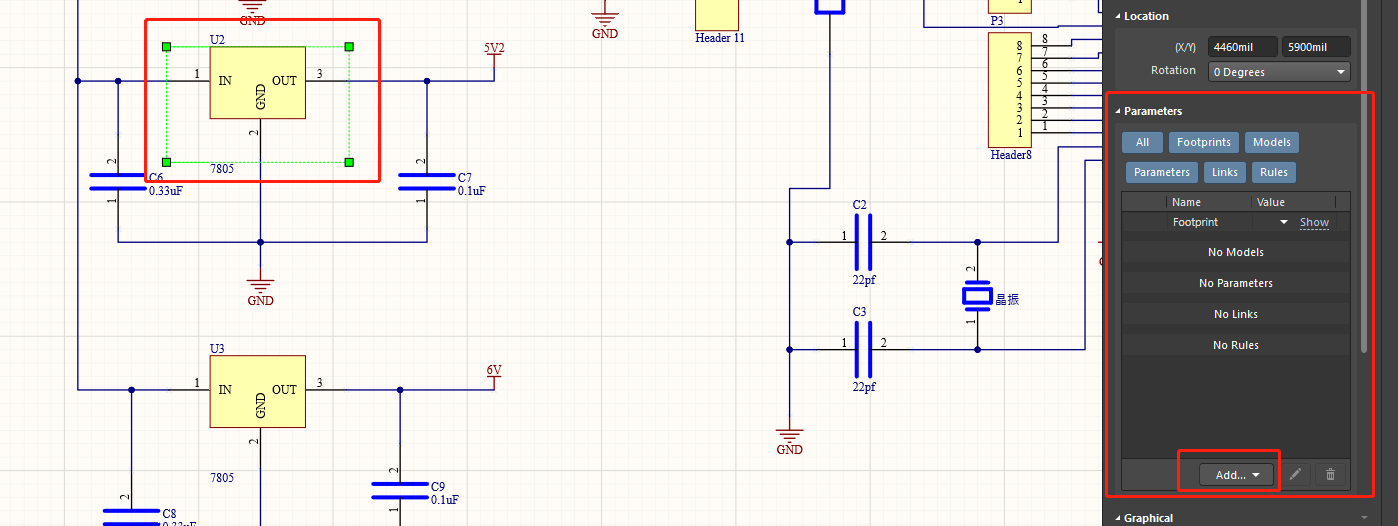
选中Add中的Footprint
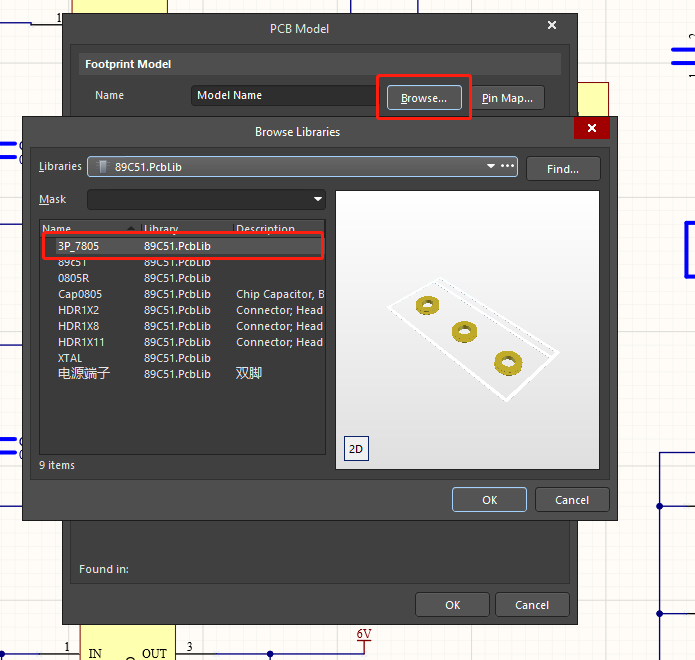
再打开的PCBModel中点击Browse,因为之前已经创建过PCB的封装库,这里直接浏览选择即可。找到7805对应的封装,即3P_7805。
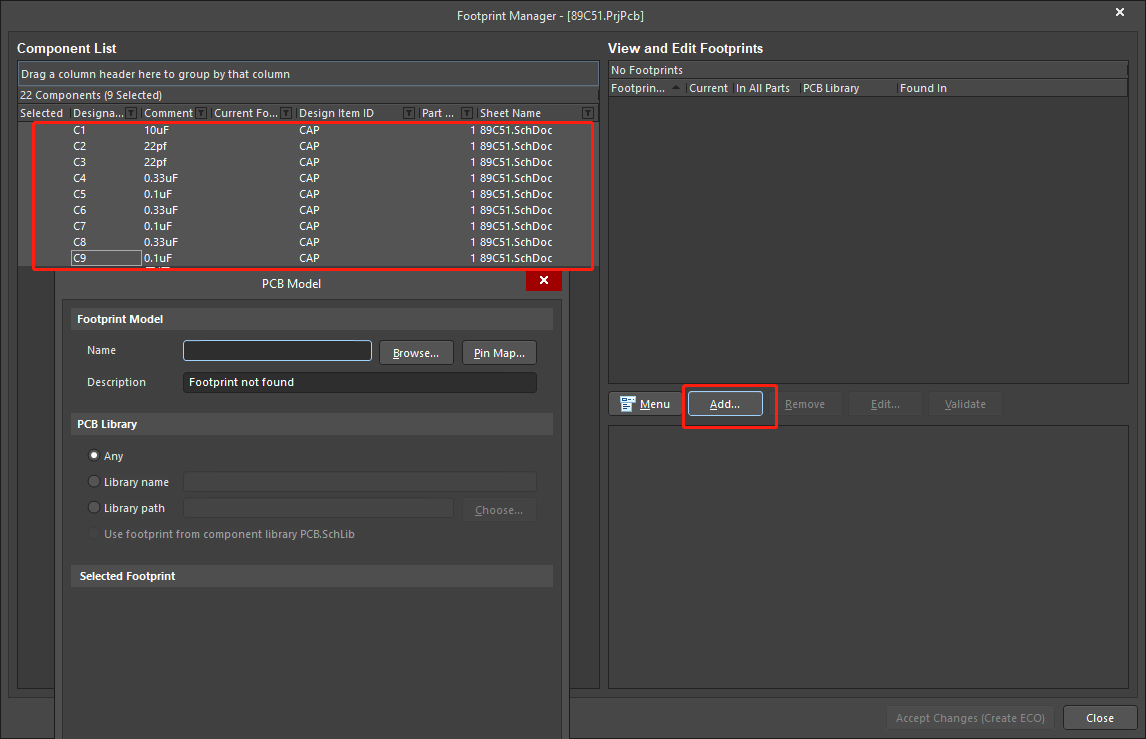
2. 批量加入Footprint
在Tools中找到Footprint Manager…
选中电容,然后点击add
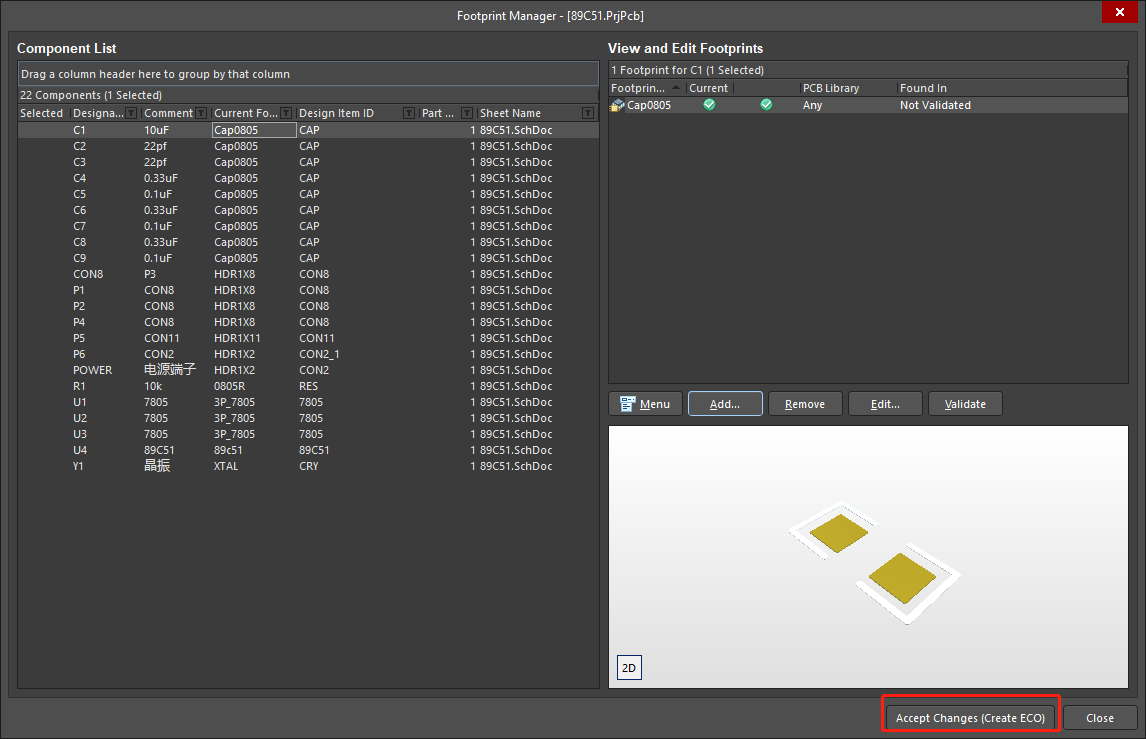
以同样的方式修改其他的器件,最后点击Accept Changes
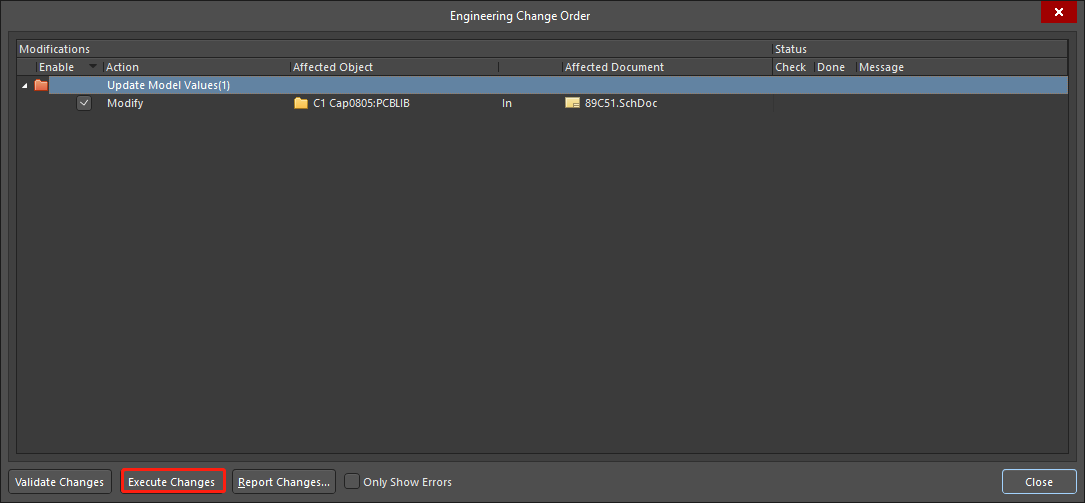
随后点击Exeute Changes
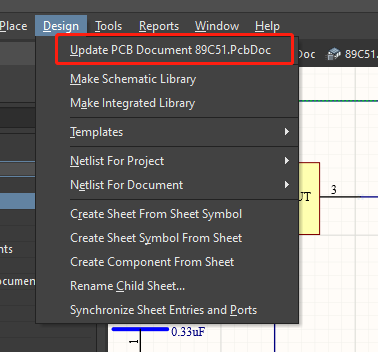
2. 将原理图导入PCB
在原理图界面中,点击Design,选中Update
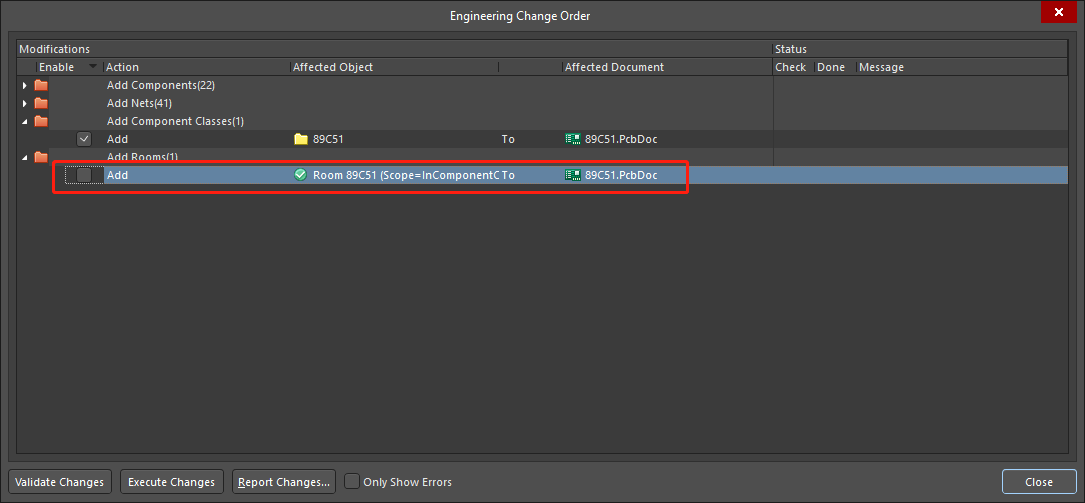
Room我们一般不需要导入,把前面的勾去掉就好
下图中有两个按钮我们需要知道:第一个按钮为check状态,第二个按钮为执行更改。
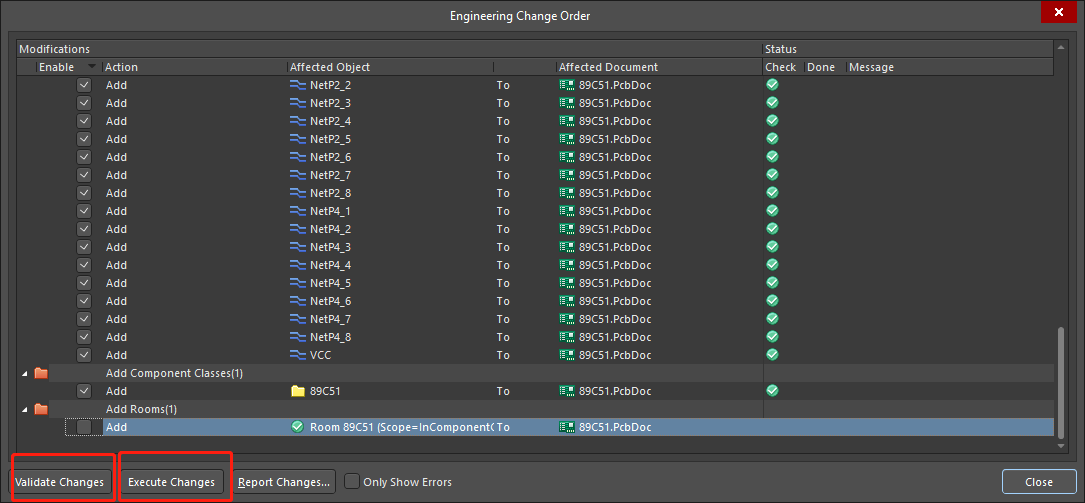
先check器件状态然后点击执行更改,最后得到下图

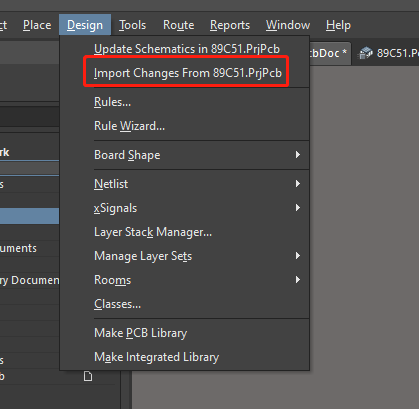
为了确认器件,我们通常要导入两次,在PCB文件中,点击Design,然后点击Import Changes From 89C51.PrjPcb
导入完全会有以下提示信息:

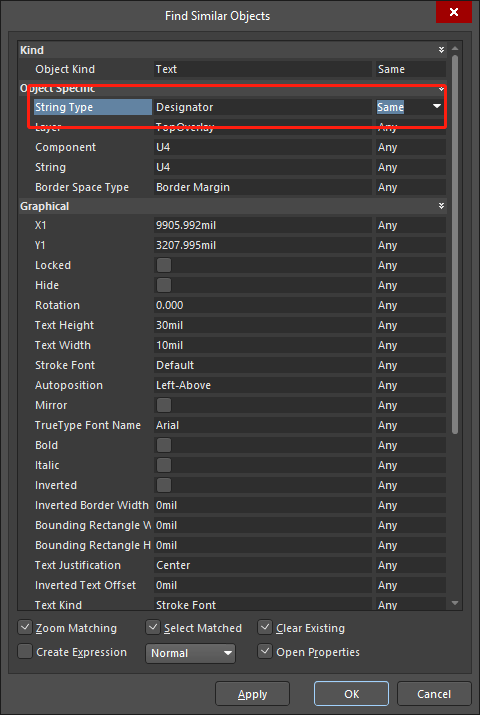
我们可以将器件的名称放在器件的中心位置,选中器件,点击Find Similar,在String type中选中same,然后快捷键A,点击Position Component Text

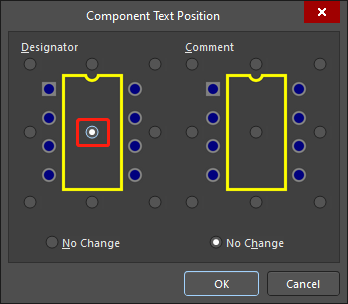
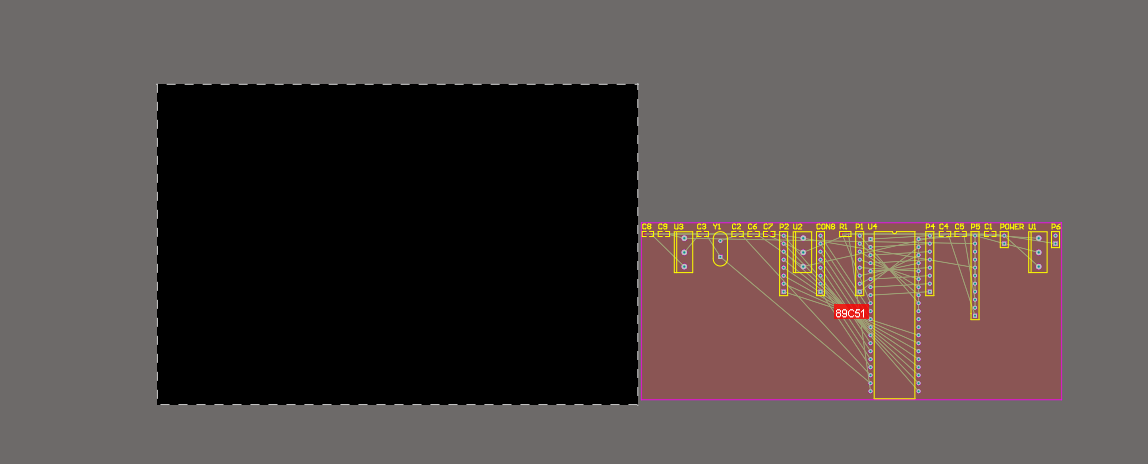
最后的效果图